Click “Volunteer Opportunities”, then click “Create Volunteer Opportunity” and fill out all applicable fields.
Opportunity Title: Create something that is catchy, accurate, and brief that will draw a volunteer to further explore your opportunity. 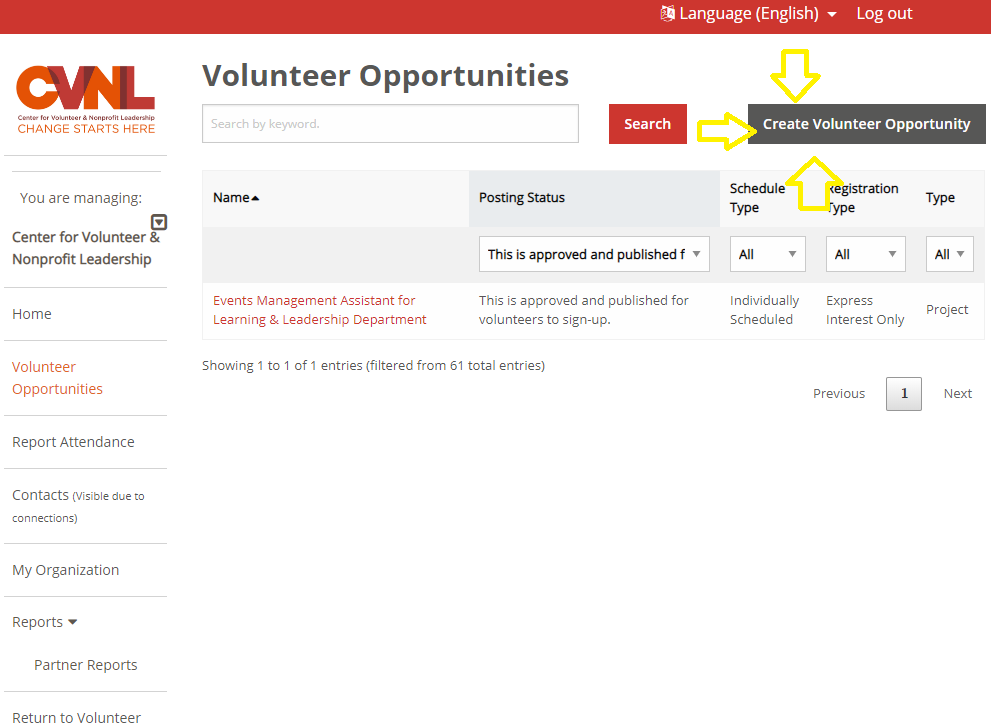 (Complete form for Steps 3-15; detailed Step 7 insturctions provided below)
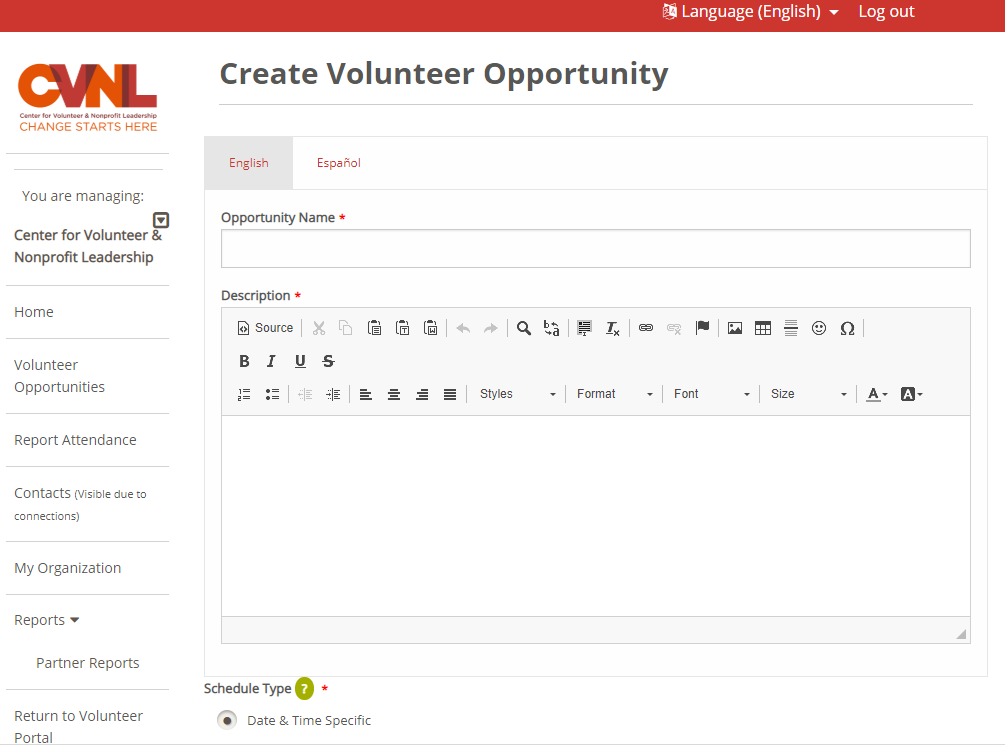
Schedule Type:
Date & Time Specific: Use this type of schedule when you need a certain number of volunteers, all of whom will be volunteering on the same date, start time and end time. You can create one or more ‘occurrences” of dates and times for this opportunity. (You will select the specific date & time on the next page).
Individually Scheduled: Use when you have a flexible schedule of when you need volunteers, and each volunteer may be scheduled to attend at a different date and time over an extended time period. This can also be used when you want volunteers to express their interest without having to specify when or where the volunteer activity will take place.
Registration Type:
Signup & Register: Used with Date and Time specific schedule to automatically sign up and confirm any volunteer who meets the opportunity requirements. When maximum attendance is reached, volunteers will have the option of joining the waitlist for that opportunity.
Express Interest: This schedule allows volunteers to express interest in an occurrence. You must then review and either confirm or decline that volunteer to participate. Useful if you need to do background checks or go through other processes before confirming a volunteer to participate.
Description: CVNL highly recommends writing a catchy, enticing, and motivating position description that relates to your organization’s mission statement. Please write at least 3 sentences regarding what volunteers will be doing, who they will be helping, etc.
The “Default Opportunity Coordinator” is a contact at your organization.
Location field provides a list of all past and present locations of opportunities. If you’d like to add a new location click “Add a Location (Next Step)” —> on the next page you will have the opportunity to create a new opportunity. .PNG)
Primary Impact Area: select which impact area this opportunity is serving.
Population Served: select the population this opportunity is serving.
Age Group Served: select which age group this opportunity is serving.
Minimum Age & Minimum Age w/Adult: Volunteers on this website can input their age directly into the search filter to determine what opportunities are available. If you accept families, CVNL highly recommends lowering the age for “Minimum Age w/ Adult” to welcome families with young children to join your opportunity.
Suitable for Groups: select if this opportunity can be attended by teams or groups of people.
Court Ordered Allowed: Do you allow court-ordered volunteers to serve with you? If yes, select this field.
RSVP/Seniors: If seniors are welcome to join your opportunity, select this field.
Volunteer Event: Is this opportunity in conjunction with a Day of Service, large Event, or Holiday Opportunity? If yes, select the event that applies. This will duplicate your opportunity in the event page in addition to the regular volunteer opportunities page.
Next Page (right hand bottom corner of the first page):
Create Location (if you did not select a pre-existing location): please fill out all applicable fields.
Start Date & End Date: what are the exact dates of your opportunity?
For Individually Scheduled events: List out what days specifically you can welcome volunteers to your organization with the day of the week, start and end times. If you can welcome volunteers on multiple days please “Add Day & Time”. 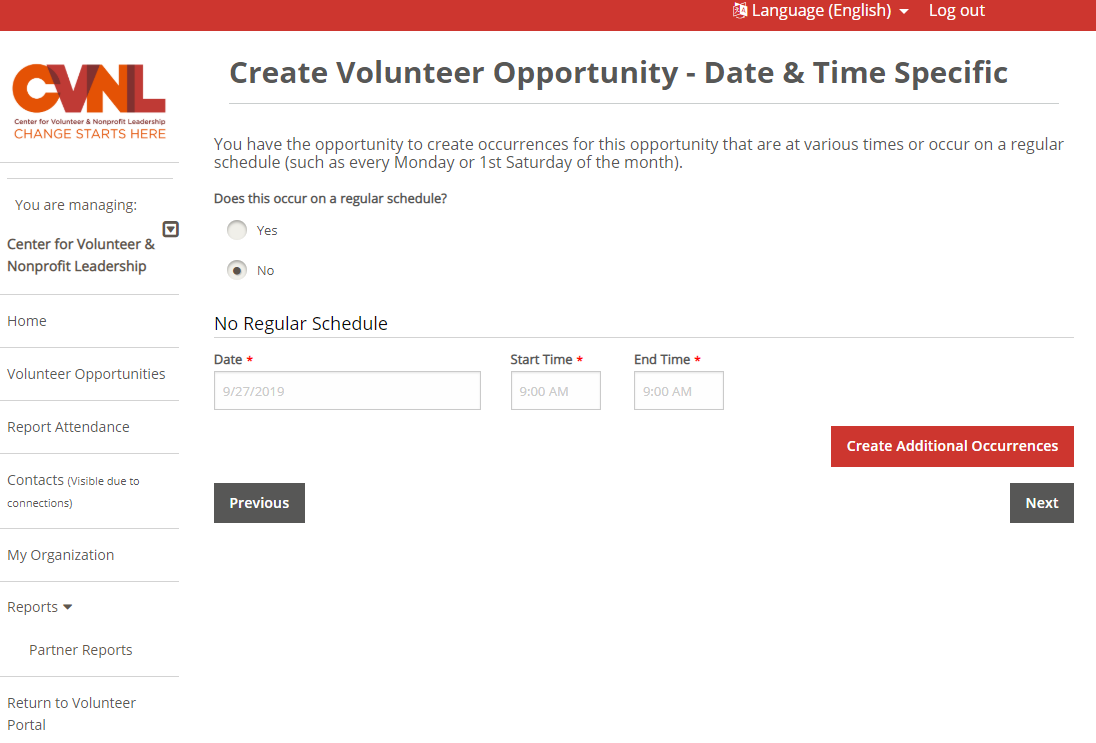
Click “Volunteer Opportunities”, select the opportunity you’d like to edit.
Remember, you may have archived (inactive) opportunities. Please look through these under “Posting Status”, use the drop-down menu to select the types of opportunities you’re looking for: inactive, approved, not published.
With editing volunteer opportunities it is important to think of the “opportunity” itself as the content of the position and the “occurrence” as the time, date, & location of the position.
To edit the content, click the “Edit” button at the top of the Volunteer Opportunity page.
To edit the time, date, or location, scroll to the bottom of the Volunteer Opportunity page and under “Occurrences”, select the “Edit” next to the occurrence you’d like to edit.
To make a volunteer opportunity inactive, simply edit the occurrence to a date and time that has already passed.